In our last post, we talked about using Brevo to create dynamic transactional emails using their API. While transactional emails are convenient to handle things like the first email after a sign-up, you’ll likely want to be sending emails to your entire contact list on some sort of cadence.
If you just want the code, click here.
That’s where Campaigns come in. Campaigns can re-use the same dynamic template we created and be sent to an entire contact list. Once again, Brevo’s generous free tier lets us send 300 emails a day. More than enough to build a small audience and figure out if its worth pursuing more seriously. Let’s see how its done.
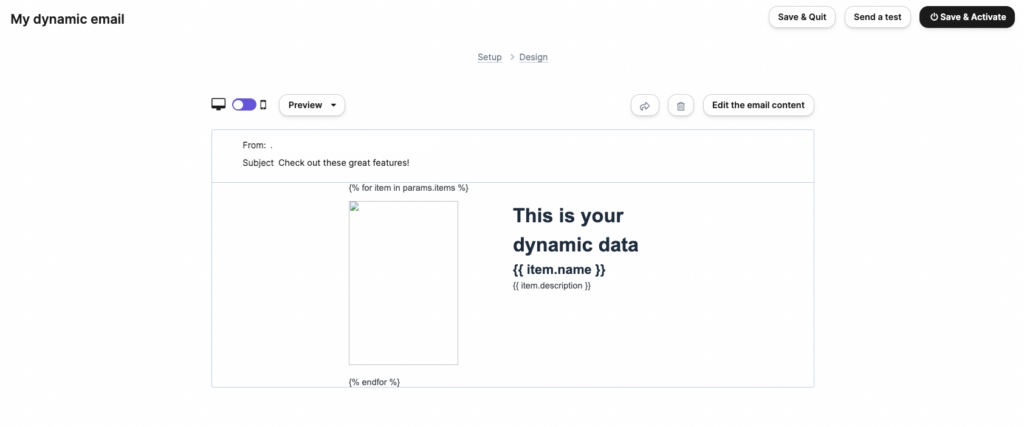
To keep things simple, we’ll re-use the same template from this post.
I’ll wrap everything in a function again called sendCampaign() and import everything we’ll need for creating and sending the campaign.
import * as SibApiV3Sdk from '@sendinblue/client'
import dotenv from 'dotenv'

dotenv.config()
const apiKey = process.env.BREVO_API_KEY ?? ''

export async function sendEmail(itemData: any[]) {
}
Next, we’ll initialize the API the way Brevo wants us to.
let apiInstance = new SibApiV3Sdk.EmailCampaignsApi();
  apiInstance.setApiKey(SibApiV3Sdk.EmailCampaignsApiApiKeys.apiKey, apiKey)

let emailCampaign = new SibApiV3Sdk.CreateEmailCampaign();
Straight forward so far. The apiInstance is initialized, we add our apiKey, then we create an emailCampaign that will hold all the boilerplate data for our new campaign.
emailCampaign = {
   sender: {name: 'Name of sender', email:       'dan@spoke.dev'}, // your email
   name: `Campaign Name: ${new Date()}`,
   templateId: 4, // Find your template Id
   subject: "Your campaign subject",
   replyTo: 'dan@spoke.dev', // Your email
   recipients: { listIds: [2] }, // One or many list Ids
   params: { "items": itemData } // The dynamic data we want rendered
}
Comments have been added to explain what each field does. There are extra fields you can add, if you’re interested in the documentation here.
Now that we have our emailCampaign data filled in, we can hit the Brevo API and create the campaign.
const res = await apiInstance.createEmailCampaign(emailCampaign)
console.log("create res", res.response.statusCode)
The console log isn’t necessary, but it’s be useful when first implementing to ensure you’re getting a 201 back.
The last step is sending the email. We’ll use the response we received from the create call to grab the Id of the newly created campaign, and send it.
const campaignId = res.body.id
const sendResponse = await apiInstance.sendEmailCampaignNow(campaignId)
console.log('send campaign response:', sendResponse.response.statusCode)
That’s it. We created a new campaign, assigned it a template, and sent it. Once again, we’ve used Brevo to send dynamic emails in less than 50 lines of code. The Campaign use case is more powerful when you need to be sending emails to entire lists, and not just single emails.
The final code can be found here.
Leave a Reply